It’s not called the “Dark Age of Camelot” for nothing. All the Realms are crawling with nasty, aggressive monsters, and part of your job is to clean things up. Of course, you get lots of experience, cash and sometimes nice items for doing so, but you also risk your health in the process. You’ll get used to fighting pretty quickly, but here are a few tips for getting started:
 The Con System
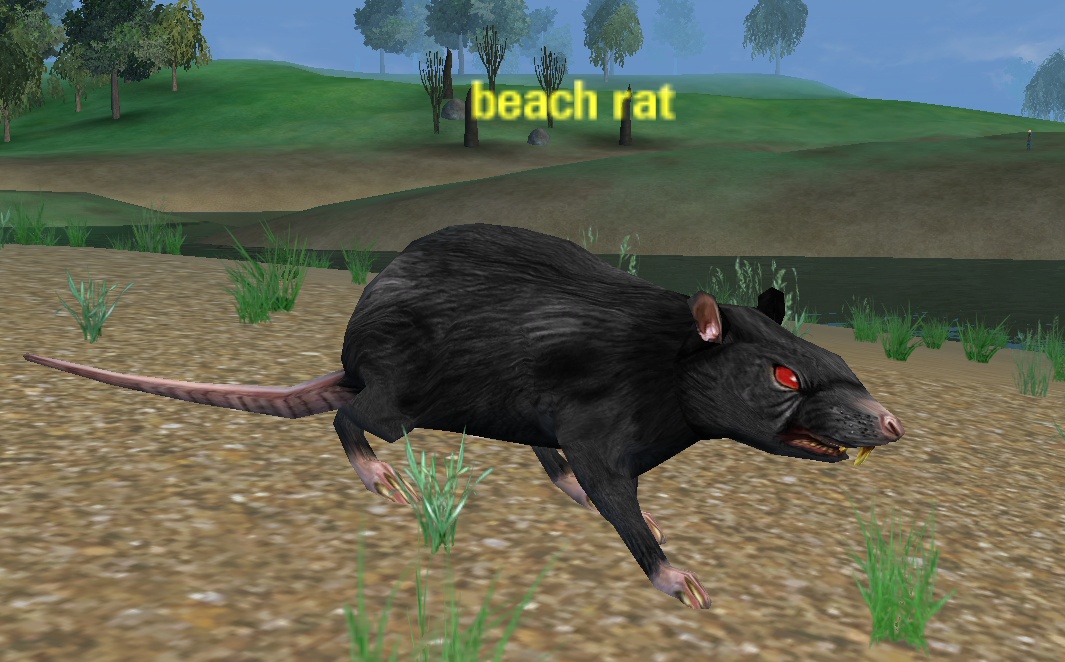
First, you’ll notice that if you click on a monster, its name appears in a color. This color is how it “cons” to you, meaning its relative level compared to yours. Although there are options to change the way they appear, the default interface causes a monster’s name to appear in the appropriate color, which makes it easy to distinguish, at a single glance, potential victims from potential disasters. Your safe targets, depending on what type of character you play and how effective it is, are generally green, blue or yellow cons. Again, depending on your character, orange, red and purple cons are probably in the disaster category, if you’re fighting solo, although in groups you may be able to take monsters that con higher. Gray (no color) monsters are useless to you. You get no experience, money or items from them. However, gray cons will leave you alone, even if they are normally aggressive.
Not all cons are equal. By this we mean that sometimes you’ll face a monster that seems stronger than other monsters that con the same. There are many possible reasons for this, but the basic fact is, not all yellows are alike, not all blues are alike, and so on.
Note that each time you level, the con of a monster will generally drop a level. So, if something was yellow to you, after you level it will probably be blue. The higher something cons, the more experience you’ll gain for killing it, but also the more risk you’ll take. Higher cons also tend to drop better loot.
BAF
BAF stand for “bring a friend” and it refers to the fact that sometimes you’ll attack one monster and more than one will attack. There are a number of reasons for this, but it’s a good idea to watch who’s coming before completely engaging in a battle, and be ready to run if you’re overwhelmed. Extra attackers are also called “adds”.
Sprint
One skill every character has is the Sprint ability. You’ll find this in the Abilities panel. If you see that you are losing a fight, you can start running and hit the Sprint key. You’ll run faster than normal, for a while, and often outdistance an enemy before it kills you. Once you run out of endurance (the green bar beneath your red health bar), you’ll stop sprinting. If you are a fighter type and use a lot of combat styles, you may find that you can’t sprint because you’ve used all your endurance. In battles where there’s a good chance of failure – like against yellow or orange cons – it’s a good idea to monitor your endurance so you can get away if necessary. You’ll often know pretty early in a fight if you’re outclassed or not. Sprint can be mapped to a key on the keyboard or dragged to a Quick Bar slot. It also appears on the Command Button Interface.
Guards
When you’re first starting out (and often even when you’ve been around for a while) you may find yourself in trouble in a fight, and defeat is certain. In such cases, if you can run (or preferably sprint) to a nearby guard, you can be saved. Guards are very powerful, and they don’t take well to monsters getting near them. So if you lure a monster near a guard, that monster is instant toast. Of course, you can lose a kill to a wandering guard, as well, so take your fights away from guards if you want to complete them and gain the rewards. Guards also (sometimes) give tasks.
Gaining Experience
There are quite a few factors that determine how much experience you will gain from fighting a particular enemy. Generally, of course, the higher the con, the more experience you’ll gain. However, there are also several bonuses that can add significantly to the experience you’ll gain, and there are some circumstances in which you’ll gain less.
Camp Bonus
If a monster has been around for a while without anybody killing it, a certain amount of bonus experience accumulates. The longer the monster has been around, the larger the camp bonus. This encourages you to explore and “go where no hero has gone before.”
Group Bonuses
There is a bonus for fighting in groups. The more monsters and players involved in a battle, the higher the group bonus.
Group Allocation
When you adventure in groups (of up to eight players at a time), experience is allocated according to a formula. Basically, the higher level players get the most experience. In addition, there are some additions for players who do the most damage, and for players in support roles who do a lot of healing or casting debuff or mez spells on enemies. Direct damage is generally worth more experience than support casting.
Xp Degradation
The opposite of the camp bonus is the xp degradation antibonus. This occurs when you (and others) sit in the same spot, killing the monsters over and over again as they spawn. Over time, the amount of experience you’ll gain for such activities will decline.
Pets and Experience
Most pets (controlled creatures) take some of the experience from the player or group. It is good to be aware of the tradeoffs between using a pet and not using one. For instance, some pet classes can be very effective in group combat without using their pets, and members of the group generally prefer that.
Fighting in Groups
The keys to group effectiveness are communication, good group balance and crowd control.
Balance
The best groups combine skills in melee fighting, healing and buffing, direct damage magic and debuff/control magic. There are many ways to form a group, but it’s nice to have a balance.
Communication and Roles
It doesn’t do much good if everybody in a group is off doing their own thing. Identifying a target and having a good idea of your role in a group will make combat more effective, and deaths less common.
Leadership
Some groups naturally defer to a specific leader. Others are more democratic. Sometimes one person is the chief “puller” who lures the enemy to the group. That person generally chooses which mobs to bring and the other players support him or her.
Crowd Control
It’s important that the melee fighters engage the enemy while the casters and healers are free to do their jobs. Once a monster has attacked a caster, that character is effectively neutralized. So, it’s the melee fighters’ job to keep the aggression on them. Meanwhile, if there are extra enemies attacking, casters with various root and mez spells can use them to stop the extra enemies from attacking until the tanks have finished with the first.
Tips for Fighters
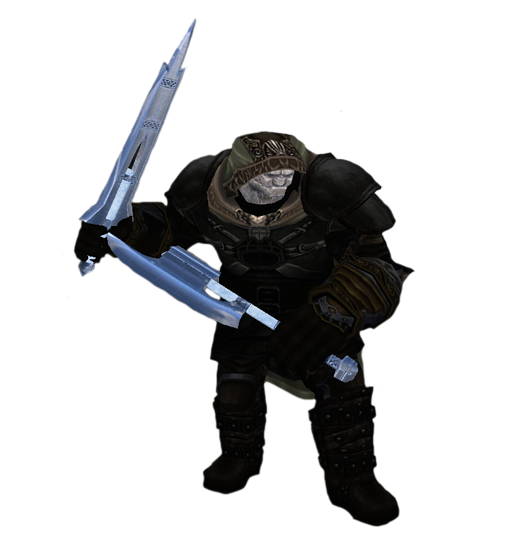 Pulling
If you’re playing a pure fighting character, you may not have any way to pull an enemy out of a crowd. It can be exceedingly hazardous to your health to go wading in among a group of aggressive monsters. So, one of the tricks of a fighter playing solo is to figure out how to get one enemy (or maybe two) at a time without taking on a lot of unexpected guests. Since each aggressive monster (as opposed to neutral ones, who won’t attack unprovoked) has a range, learning that range and just attracting the attention of one monster, then backing out of range is probably the best solo strategy for a pure fighter. Hybrid characters and most tank characters generally have some kind of ranged spell or other attack that can be used to lure an enemy out of a group.
Styles and Endurance
As a melee type, your combat styles are your most powerful melee forms of attack. However, styles use endurance – some more than others – and with the loss of endurance, you risk two things: 1) You can’t use styles once your endurance runs out, and 2) you can’t use your Sprint ability to escape if you get into trouble. Managing your endurance is important if you are a fighter type.
Upgrade Styles and Other skills
Whenever you level, check to see if you have gained any new styles or upgrades to existing abilities and be sure that you are using the best and most up-to-date abilities.
Repair or Upgrade Weapons and Armor
Your equipment is of prime importance to your character. Your weapon quality makes a huge difference to how effective you will be, and your armor helps you avoid being hit and absorbs some of the damage. Shield users also should keep their shield in good repair or upgraded. Each item in the game cons (just like the monsters), and ideally, you should have weapons and armor that con yellow, although you can also use orange items. If you use red or purple items, be aware that you won’t get their full effectiveness and that they will degrade faster.
Enchantment
Take your weapons and armor to an NPC called Enchanter and, for a small fee, have them enchanted. They will be more effective if you do so.
Offensive vs. Defensive Strategies
Some fighters specialize in offensive skills while others may put more spec points into their defensive skills. This is an individual decision, but one to be aware of as you create a primarily fighting character.
Groups
As a fighter, your primary role is to take on the enemy, absorb their attacks, dish out damage and protect the magic casters. When joining a group, look for a balance of players. It helps immensely to have other players who can heal (and resurrect) as well as debuff, root and mez the enemy. If a caster attracts the attention of an enemy, use a taunt style to reestablish aggro on your character and free up the caster.
Tips for Casters
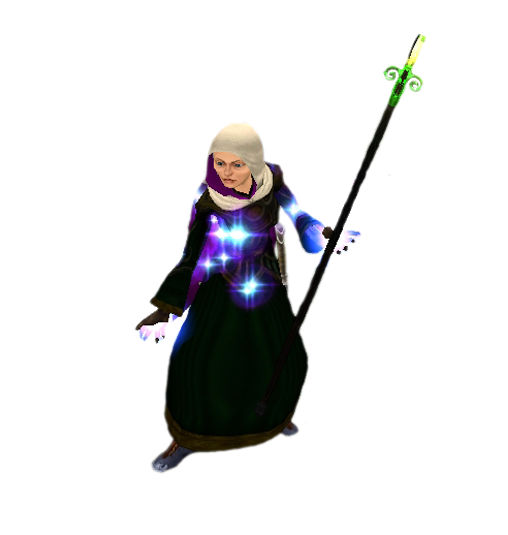 Effective Range
Experiment with the range of your spells, and, whenever possible, begin casting from the maximum range. You can get off two or three spells before the enemy even reaches you.
Roots (snares) and mezzes
Some spells do direct damage to the enemy, while others can reduce their abilities and attributes. Still others can stop them in their tracks – very useful to give you a chance to place some distance between you and them so you can cast again, or to control extra enemies who might be attacking a party. Roots and mezzes (mesmerize spells) can accomplish similar effects, and keep enemies engaged and out of the action until you’re ready for them. Another technique is called “kiting” in which an enemy is snared or rooted, keeping it at a distance while hitting it with damaging spells and avoiding melee combat with it.
DoTs vs. DDs and AOEs
Other types of spells include Damage over Time (DoT) spells, that continue to do some damage as time passes and Area of Effect (AOE) spells that can damage multiple enemies. DoTs can be useful, but be aware that they can also cancel the effect of some roots and mezzes. AOE spells are useful in some circumstances, but they can also attract the aggression (aggro) of more enemies than you might want. Be careful, therefore, when using DoTs and AOEs.
Quick Cast
The Quick Cast ability can save your skin and can be found under your Abilities tab. It lets you get off a spell, even if you are engaged in melee combat. For instance, if an enemy has started pounding on you, click the Quick Cast button – you have placed it on your Quick Bar, right? – and then cast a root spell to hold the enemy while you run to a safe distance and start blasting again.
Shield Spells
Spellcasters generally have spells that can shield them (or others) from damage.
Upgrade Your Spells
Whenever you level, check to see if you have gained any new spells or higher versions of existing ones. Keep your Quick Bar populated with the best and the latest.
Groups
Casters working in groups can fulfill many roles. Some are healers. Many have spells that can buff other members of their group, including damage enhancements, protection spells, and others. Still other casters may specialize in casting debuff spells on enemies to weaken them, or roots and mezzes to control extra attackers. Finally, there are the direct damage spells, which can do huge amounts of damage to the enemy while it’s engaged with the tank. Pulling without aggro. Casters are often called upon to pull an enemy out of a group, but when they do, they cause the enemy to target them. It is the tank’s job to attack and shift the aggro from the caster to themselves by landing some telling blows, but the caster can help out by pulling with a non-damage spell, such as a debuff, which will make it easier for the tank to get its attention.
Tips for Pet Classes
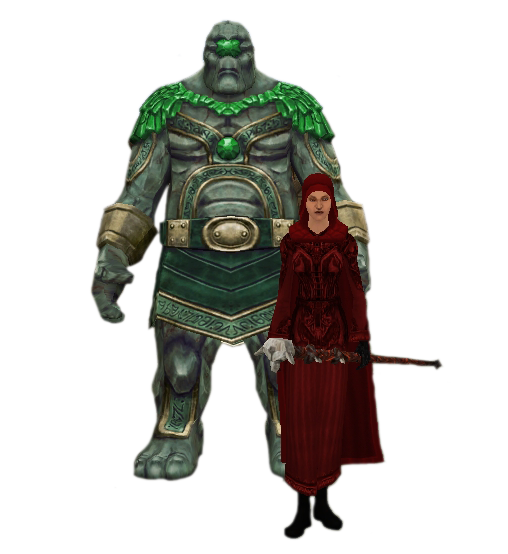 Managing Pet Aggression
Pets can be aggressive, defending or passive. In some situations, it’s good to keep them passive. It’s rarely useful to have them aggressive. Knowing your pet’s stance is important. You don’t want it going out and attacking enemies at random, and in some cases, you don’t want it attacking at all.
Pulling and managing aggro
If you send a pet into a large group of aggressive enemies, you’re inviting disaster. However, pet classes are essentially casters, and can use non attack spells, such as debuffs, to pull enemies, then order the pet to attack, if desired, once the mob is out of range of its friends.
Experience vs. Safety
The more you use more pets, the less experience you’ll gain for a particular battle. Some pet users rely more on their damage spells than on the pet. It’s a choice you make. You may find that you can kill more mobs faster with the pet than without, making up for any loss of experience. Using spells with the pet. Once a mob has fixed on a pet and is down to about 50% health, you can safely begin hitting it with your best and most destructive spells without it shifting its attention to you. This generally works, though it’s good to be prepared for the unexpected.
Groups
Pet classes operate similarly to other casters in groups, but it’s a good idea to ask the group if they want you to use your pets or not. Some may ask you to keep the pets out of the battle unless things get out of hand. Be prepared to act if that happens, but otherwise, keep your pet on a leash.